Borderlands 2 The Lost Treasure Locations: All Switches
Find Borderlands 2 the lost treasure locations, activate all four Caustic Caverns switches, and claim the Dahlminator with this step-by-step quest guide.
Jump to
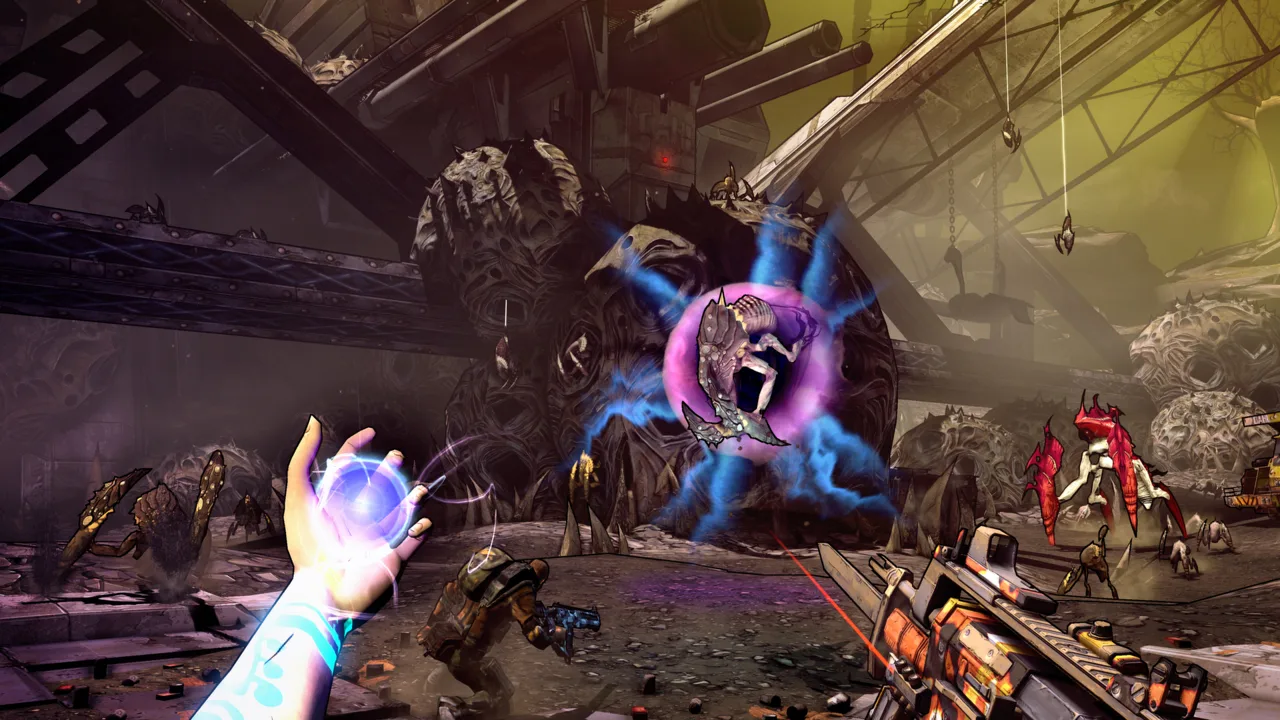
Sawtooth Cauldron: Start the Treasure Hunt
Tracking down Borderlands 2 The Lost Treasure locations leads to four hidden switches in Caustic Caverns. Activate all four to reach the upper facility, claim the Dahlminator pistol, and open the treasure chest. The hunt begins in Sawtooth Cauldron, where you collect the map pieces that point you toward the loot.
Complete Toil and Trouble before starting this side quest. Level 26 or higher is recommended for the bandits and wildlife along the way.
- Find the ECHO recording in Sawtooth Cauldron. Look for the recording inside a box and interact with it to accept The Lost Treasure.
- Follow the mission markers to the bandit areas. Kill bandits within the marked locations and check their drops for map pieces.
- Pick up all four pieces. The pieces drop randomly from bandits, so keep fighting within the target areas until you have the complete set.
- Travel to Caustic Caverns. Your next task is to solve the four location clues and activate their switches.
Brick contacts you during the map-piece hunt to explain the treasure. Once you reach the switch objective, use the landmarks below to find each interaction point.
Official page: Borderlands 2 (store.steampowered.com)
Caustic Caverns: All Four Hidden Switch Locations
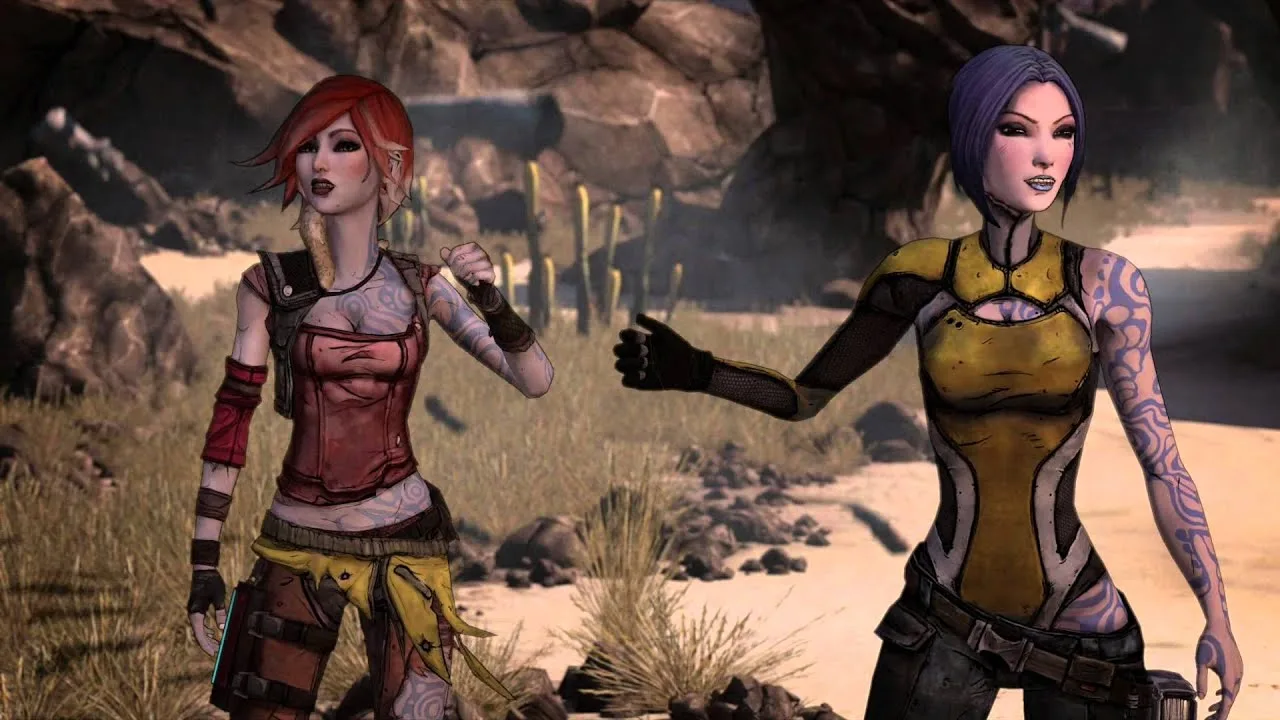
You can activate the switches in any order. The numbers below identify the clues; they do not represent a required sequence.
| Switch clue | Area or landmark | Exact location |
|---|---|---|
| Under the acid-soaked railway | Broken railway over the acid lake | On the east-facing side of the middle yellow railway support |
| In the warehouse on the shore | Infested Warehouse, beyond Rumbling Shore | On the wall facing the acid lake, near the six-pillar formation |
| In the digger’s shadow | Giant bucket-wheel excavator near the western shore | On the side of a transformer beneath the excavator |
| Within Dahl’s bloody sixth | Dahl Deep Core 06 | On a wall in a corner of the interior, reached through an unlocked door |
Railway Support Switch
Find the broken railway stretching over the acid lake and identify its yellow supports. The switch is attached to the middle support, on its eastern side.
Check the side of the pillar itself. Looking along the railway deck can leave you searching above the interaction point.
Infested Warehouse Switch
Head toward the northern part of the map, passing Rumbling Shore to reach the Infested Warehouse. Find the six-pillar formation, then inspect the wall facing the acid lake.
Expect Varkids around the warehouse. Clear nearby enemies before searching the wall so you can line up the interaction without being interrupted.
Excavator Switch
Move toward the western shore and find the enormous circular digging wheel near the Guardian ruins. Search beneath the machine for the transformer with a switch mounted on its side.
The clue points directly underneath the excavator. Inspect the equipment in its shadow rather than searching the wheel’s upper structure.
Dahl Deep Core 06 Switch
Enter Dahl Deep Core 06 and check the interior corner walls for the final switch. The room is behind an unlocked door.
For the approach around the facility, continue past the Dahl vehicles and large freight elevator toward the Nether Hive, recognizable by its hive formations. Follow the route around to the doorway leading into the interior. Keep searching inside until you find and activate the wall switch.
Varkid Ramparts: Reach the Chest and Claim Your Reward
After activating all four switches, return to the large freight elevator between Nether Hive and Rumbling Shore. It is toward the center of the map on the northern side.

- Use the elevator lever to ride up to Varkid Ramparts.
- Fight through the enemies above and follow the mission marker.
- Reach the hatch in the upper area and interact with the lever inside.
- Claim the mission reward, then loot the red Dahl chest that rises.
The quest awards money, XP, and the Dahlminator, a unique pistol that fires homing projectiles. Its shots stick to enemies and explode for corrosive damage. Check your mission log for the cash and XP amounts attached to your quest.
If the Treasure Chest Will Not Open
If the weapons crate rises but refuses to open, save and quit, then return to the game. Revisit the chest and try opening it again.
Continue exploring
Popular pages
Borderlands 2 Axton Build: Leveling, Gear, and Skills
Build a strong Commando with this Borderlands 2 Axton build guide, covering leveling skills, turret setups, useful gear, and preparation for UVHM and OP10.

Borderlands 2 Best Weapons: Tiers, Drops, and Builds
Find the Borderlands 2 best weapons for bosses, mobs, and OP10. Compare top guns, learn where to get them, and pick the right damage and utility loadout.
Borderlands 2 Final Boss: Warrior Fight and Loot Guide
Face the Borderlands 2 final boss with a guide to the Warrior’s location, Second Winds, moonshot finish, legendary drops, and repeat farming. Prepare now.
Borderlands 2 DLC Order: When to Play Each Expansion
Use the Borderlands 2 DLC order with spoiler-safe campaign timing, starting levels, Fast Travel locations, and advice for saving Commander Lilith for last.
Join the community
Official channels for news, updates and player help: