
Borderlands 2 Achievement Guide: Your Route to 100%
Use this Borderlands 2 achievement guide to plan all 75 Steam unlocks, tackle class challenges, beat raid bosses, and clear every DLC achievement in order.
Jump to
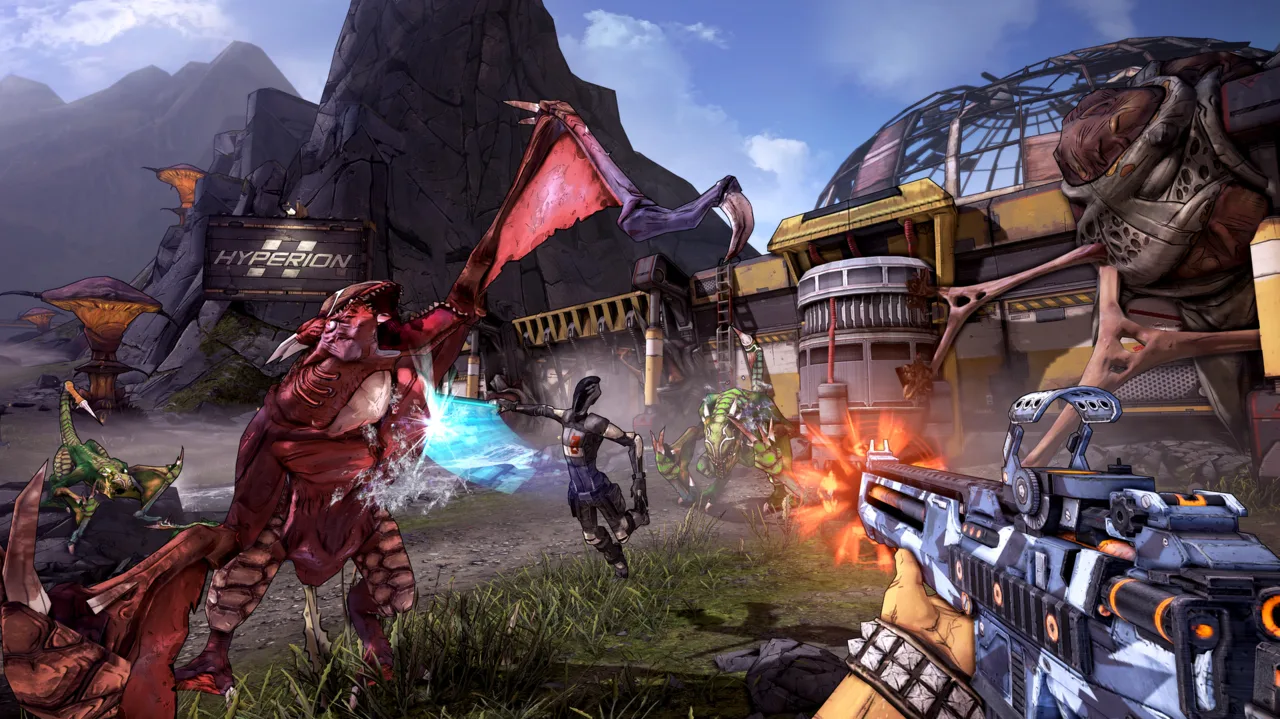
Plan Your Run and Clear the Story
Keep side missions and challenges on your main character to avoid repeating work across characters. This Borderlands 2 achievement guide gives you an order for handling the campaign, class skills, rare enemies, and DLC without scattering your progress. Pick one main Vault Hunter for side missions and challenges, then use alternate characters for their specific achievements.
Keep these targets in mind:
- 75 Steam achievements cover the base game and its achievement-bearing DLC.
- Four original classes have individual action-skill achievements: Commando, Siren, Gunzerker, and Assassin.
- Capped Out…For Now requires level 50.
Follow the campaign and collect the story achievements below. Handle nearby side missions along the way, especially objectives that ask you to accumulate kills.
| Achievement | How to unlock |
|---|---|
| First One's Free | Complete “My First Gun.” |
| Dragon Slayer | Complete “Best Minion Ever.” |
| A Road Less Traveled | Complete “The Road To Sanctuary.” |
| New In Town | Complete “Plan B.” |
| An Old Flame | Complete “Hunting The Firehawk.” |
| No Man Left Behind | Complete “A Dam Fine Rescue.” |
| Wilhelm Screamed | Complete “A Train To Catch.” |
| Sky's The Limit | Complete “Rising Action.” |
| Can See My House From Here | Complete “Bright Lights, Flying City.” |
| Farewell, Old Girl | Complete “Wildlife Preservation.” |
| Got The Band Back Together | Complete “The Once and Future Slab.” |
| Identity Theft | Complete “The Man Who Would Be Jack.” |
| An Angel's Wish | Complete “Where Angels Fear To Tread.” |
| Bombs Away | Complete “Toil And Trouble.” |
| Knowing Is Half The Battle | Complete “Data Mining.” |
| Cool Story, Bro | Defeat Jack. |
The leveling achievements fit alongside campaign progress:
- Not Quite Dead: Reach level 5.
- Better Than You Were: Reach level 10.
- Always Improving: Reach level 25.
- Capped Out…For Now: Reach level 50.
Official page: Borderlands 2 (store.steampowered.com)
Unlock the Four Class Achievements
Sabre Rattler requires turret kills, while Phased and Confused requires repeated Phaselocks. Salvador and Zero need skill investments that extend a single activation.
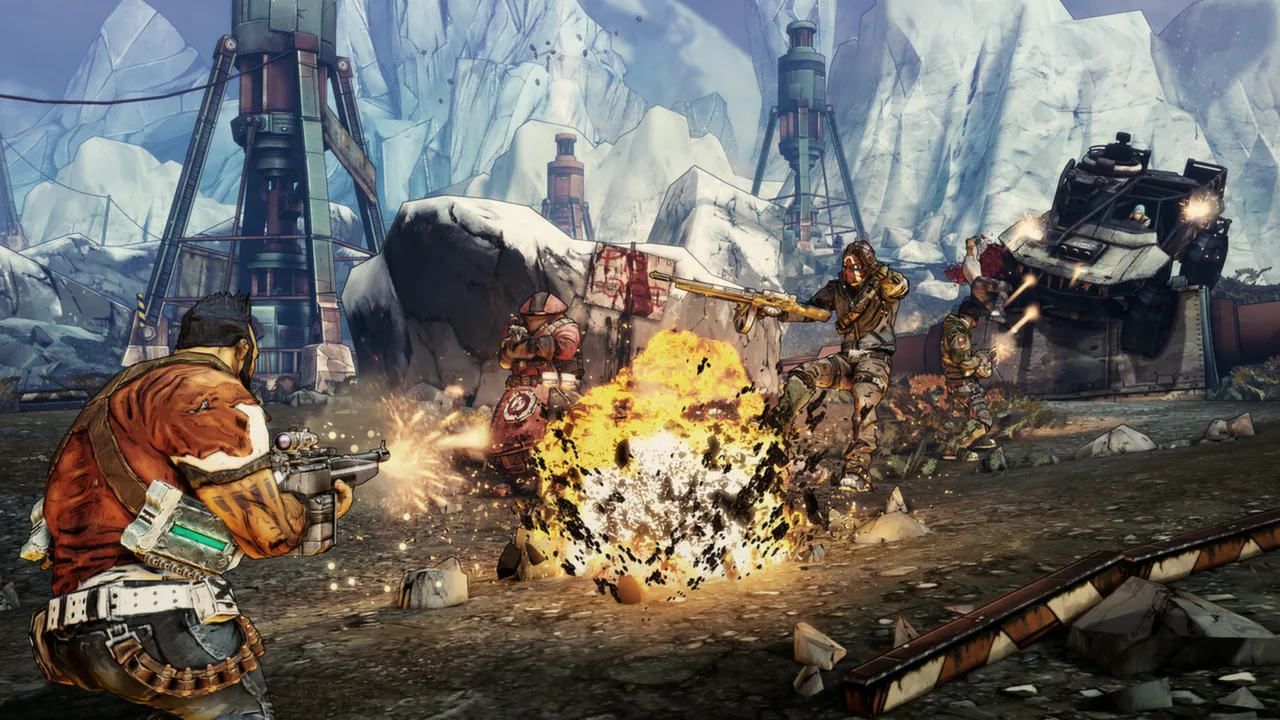 Image: Steam / Gearbox Software
| Achievement | Character | How to unlock |
|---|---|---|
| Sabre Rattler | Commando | Kill 100 enemies with the Sabre turret. |
| Phased and Confused | Siren | Phaselock 100 enemies. |
| So Much Blood! | Salvador, Gunzerker | Gunzerk continuously for 90 seconds. |
| Unseen Predator | Zero, Assassin | Remain in Deception for ten seconds straight. |
Salvador: Keep Gunzerking Going
Reach level 25 and invest in Last Longer and Yippee Ki Yay. These skills support the extended Gunzerking window and kill-based duration increases needed for So Much Blood!
Head to Frostburn Canyon and chain kills through the opening enemy groups, then continue into the Spiderant cave. Keep moving toward living targets; an empty stretch of the map wastes your remaining action-skill time.
Use the Quick Change machine in Sanctuary to respec if your current build lacks the required skills.
Zero: Extend Deception With Melee Kills
Reach level 31 and take Many Must Fall. During Deception, melee kills extend your stealth window.
Return to Frostburn Canyon and gather nearby low-level targets before activating the skill. Chain melee kills until you pass ten seconds. Do not fire your gun during the attempt, because shooting ends Deception.
For the Commando and Siren, work on turret kills and Phaselock uses while completing missions with those characters.
Finish Sanctuary and Equipment Tasks
Sanctuary bundles several achievements into short visits. Check for Michael Mamaril while handling upgrades, customization items, and Moxxi’s tip jar.
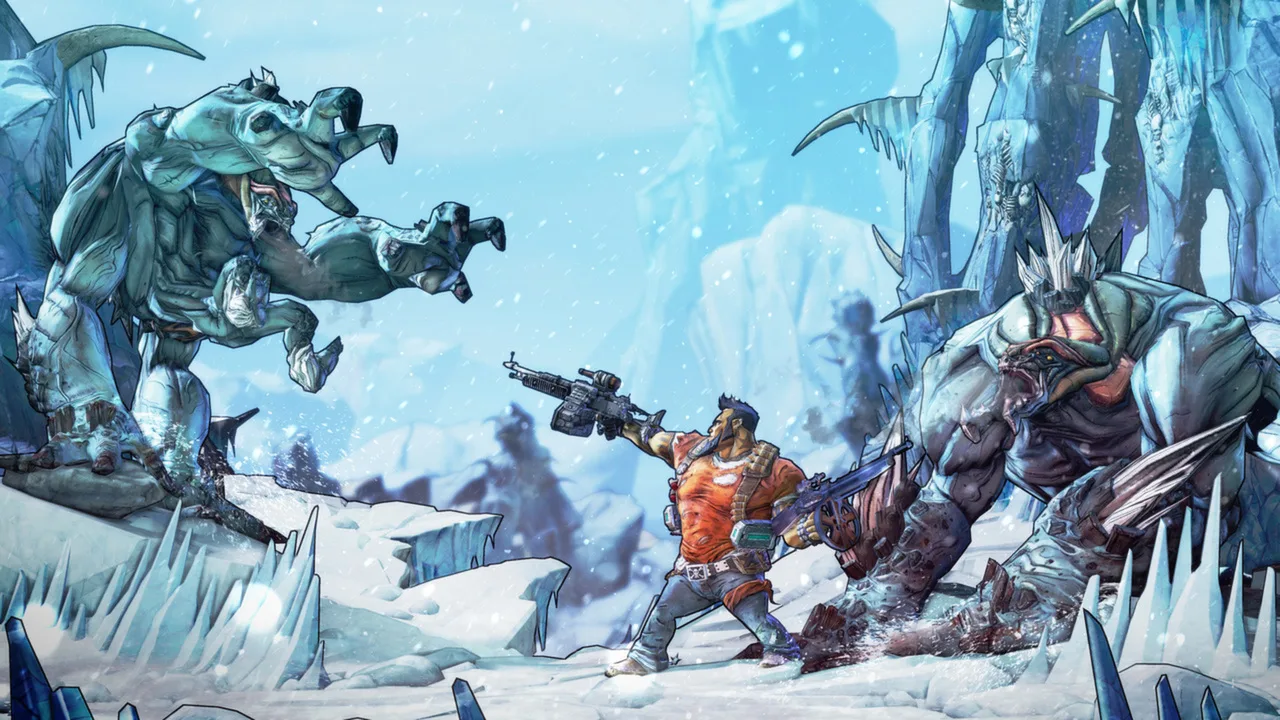 Image: Steam / Gearbox Software
| Achievement | How to unlock |
|---|---|
| Better Than Money | Purchase five items from the black market. |
| Tribute To A Vault Hunter | Receive an item from Michael Mamaril. |
| Sugar Daddy | Tip Moxxi a total of $10,000. |
| Up High, Down Low | Give Claptrap a high five. |
| Decked Out | Equip Purple-rated gear or better in every slot. |
| Token Gesture | Redeem 25 tokens. |
| How Do I Look? | Unlock ten customization items. |
| Friendship Rules | Revive someone in Fight for Your Life who is on your friends list. |
Find the black market at the purple door near Moxxi’s bar. Its upgrades cost Eridium, so spend that currency on useful purchases while working toward Better Than Money.
For Sugar Daddy, use the tip jar on Moxxi’s counter.
Michael Mamaril has ten possible locations around Sanctuary. Speak to him and accept his item when you find him. Search his possible spots during your town visits rather than expecting him at one fixed location.
When Claptrap offers a high five, take the opportunity. Keep spare Purple-rated equipment for Decked Out, too: the requirement concerns what you have equipped, so check every slot before selling your extras.
Arrange Friendship Rules with someone already on your friends list. Reviving a random co-op partner does not meet that stated condition.
Handle Combat Tricks, Secrets, and Rare Enemies
Keep a Tediore weapon available, watch for Goliaths, and make short detours for the location-based secrets.
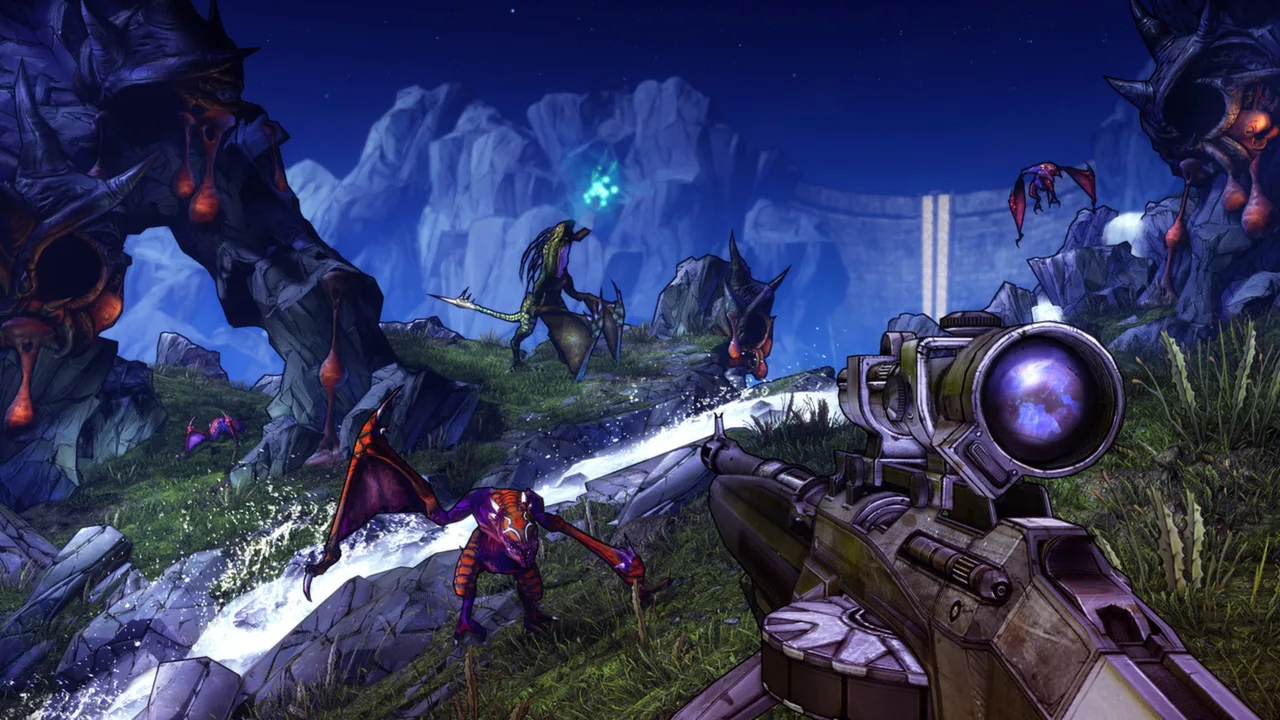 Image: Steam / Gearbox Software
| Achievement | How to unlock |
|---|---|
| High-Flying Hurler | Kill a flying enemy with a thrown Tediore weapon. |
| Goliath, Meet David | Let a Goliath level up four times, then kill it. |
| Build Buster | Kill a Constructor before it builds another bot. |
| Definitely An Italian Plumber | Kill Donkey Mong. |
| Cute Loot | Kill a Chubby. |
| Well That Was Easy | Complete “Shoot This Guy in the Face.” |
| What does it mean? | Trigger the double-rainbow scene in The Highlands. |
| Feels Like The First Time | Open the chest at the Fyrestone bus stop. |
Tediore Throws and Constructor Kills
Tediore weapons become thrown attacks when you reload. For High-Flying Hurler, weaken a flying enemy first, then aim the reload throw so that it delivers the finishing damage.
For Build Buster, use the Constructor at the Hyperion base in The Highlands. Prepare your burst damage before engaging: rockets, grenades, and Salvador’s Gunzerking can help you kill it before another bot appears. Return at a higher level if the damage window is too tight.
Level Up a Goliath Without Losing It
Frostburn Canyon provides Goliaths and nearby enemies for this attempt.
- Shoot off a Goliath’s mask to enrage it.
- Let it kill surrounding enemies.
- Weaken its targets so it can finish them.
- Remove stronger enemies that threaten to kill it.
- Wait for four level-ups before delivering the final blow.
Avoid wiping out the entire group yourself. The Goliath needs those kills to progress.
Find Donkey Mong and a Chubby
Look for Donkey Mong in southwestern Eridium Blight. He resembles a Bullymong and throws explosive barrels. Travel between Eridium Blight and Arid Nexus – Boneyard to make repeated checks at his spawn location.
For Cute Loot, search the Varkid groups near the Caustic Caverns entrance and the area’s Spiderant populations. Chubbies are rare variants, so a run through the area does not guarantee one. Land the killing blow yourself when one appears.
Collect the Three Quick Secrets
- Well That Was Easy: Find Face McShooty in Thousand Cuts when you reach the area during “The Once and Future Slab.” Accept his mission and shoot him in the face.
- What does it mean?: Cross the Constructor bridge in the Highlands Hyperion camp. Near the large metal door beyond it, drop from the cliff on the right to the plateau with a tent. Stand by the tent and let the recording and rainbow scene play.
- Feels Like The First Time: Visit Fyrestone in northern Arid Nexus – Badlands. Climb the red building and open the red chest on its roof.
Complete Challenges, Side Missions, and Exploration
These objectives deserve attention throughout your main character’s run. Leaving them all until the end creates extra travel and repeated fights.
Challenge Accepted
Challenge Accepted requires level 1 of every non-level-specific challenge on a single character. Spread your weapon use and check the challenge menu for neglected categories.
Pay particular attention to:
- Vehicle seat requirements: A challenge involving the back seat will not progress from the gunner seat.
- Blue Sparks: Work on sliding your vehicle into enemies.
- Grenade types: Use different grenade effects, including transfusion and bouncing varieties.
- Spike shields: Equip one when working on its associated challenge.
- Shock damage over time during Fight for Your Life: The lingering shock damage needs to secure the kill for that challenge.
For the shock objective, use a weapon that applies shock damage over time and leave an enemy weak enough for that damage to finish it. A direct-impact kill does not satisfy the same condition.
Side Missions and Slaughter Rounds
Bounty Hunter requires 20 side missions. Did It All requires all base-game side missions, while Went Five Rounds requires completing Round 5 of any Circle of Slaughter.
Complete the relevant slaughter missions on the character you are using for Did It All. Clearing an arena on an alternate character can leave you repeating it for your main character’s mission progress.
Pick up long kill-count missions before clearing enemy-heavy areas. For the mission requiring 100 Bandit kills, work through Bloodshot Stronghold.
The Creature Slaughter Dome is not required for the base-game Did It All achievement.
Named Locations
Use these regional achievements to organize your exploration:
- Urban Explorer: Discover all named locations in Sanctuary, Opportunity, and Lynchwood.
- Highlands Explorer: Discover all named locations in The Highlands, Thousand Cuts, and Wildlife Exploitation Preserve.
- Blight Explorer: Discover all named locations in Eridium Blight, Arid Nexus, and Sawtooth Cauldron.
- World Traveler: Discover all named locations.
Check small side paths and tucked-away spaces while finishing missions. For the Pirate’s Booty exploration achievement later, remember that even a small secret stash location can be part of the named-location hunt.
Defeat Terramorphous the Invincible
Thresher Thrashed requires defeating Terramorphous. After finishing the story, speak to Tannis in Sanctuary’s Crimson Raiders HQ to accept “You. Will. Die. (Seriously.)”
Travel to Thousand Cuts and enter Terramorphous Peak. Entry costs 4 Eridium.
Prepare for the fight before paying that entry cost:
- Reach level 50 and bring level-appropriate equipment.
- Purchase ammunition-capacity upgrades from the black market.
- Redeem your available Badass Tokens.
- Attempt the fight in Normal Mode.
- Bring co-op partners if you need help staying alive and maintaining damage.
Use slag and concentrate your strongest attacks on the glowing yellow weak points. Keep moving to avoid incoming tentacle attacks.
Leave yourself a possible recovery target when practical. If you enter Fight for Your Life, killing a tentacle can earn a Second Wind. Dying during a solo attempt restores Terramorphous’s health, so survival matters as much as damage.
Clear the DLC Achievements
Each campaign has its own objectives. Complete nearby side missions while advancing its story, and keep exploration progress on the same character whenever possible.
| Achievement | How to unlock |
|---|---|
| Treasure Hunter | Complete “X Marks the Spot” in Captain Scarlett and her Pirate's Booty. |
| Completionist | Complete all Pirate's Booty side missions. |
| Gadabout | Discover all named locations in Oasis and the surrounding Pirate's Booty zones. |
| Explosive | Complete “Long Way To The Top” in Mr. Torgue’s Campaign of Carnage. |
| Motorhead | Complete all Campaign of Carnage side missions. |
| Obsessed | Collect ten pictures of Moxxi in Campaign of Carnage. |
| Face Off | Complete “The Fall of Nakayama” in Sir Hammerlock's Big Game Hunt. |
| Done That | Complete all Hammerlock's Hunt side missions. |
| Been There | Discover all named locations in Hammerlock's Hunt. |
| I Totes Planned That Boss | Slay Mister Boney Pants Guy. |
| Yaaaaaay | Introduce yourself to the White Knight. |
| Shorty, You So Best | Complete the quest to rescue the queen. |
| Keep Rollin' Rollin' Rollin' | Roll the magical treasure orb of many sides. |
| It's Like That One Video | Defeat The Darkness. |
| They Was All "Hey That's Mine" | Pull five swords from Immortal Skeletaurs without leaving the area. |
| Girl's Gotta Eat | Feed the queen three times during one visit to her quarters. |
| Dang Girl You Ace At This Game | Win the most challenging round in Murderlin's Temple. |
| Hmmmmm | Wield the Mysterious Amulet. |
| Make it Raaaaaid | Defeat the Ancient Dragons of Destruction. |
| Anyway, Here's "Firewall" | Activate the Backburner's firewall. |
| Chocolate Chip Confirmed | Allow Tiny Tina to arm the moonshot cannon. |
| 3 or Bust | Complete “Paradise Found.” |
| Decrypted! | Defeat the Dark Web. |
| Spicy Boy | Defeat Haderax the Invincible. |
| Painbow Connection | Equip effervescent-quality gear in every slot except the class mod slot. |
Captain Scarlett and Mr. Torgue
In Pirate’s Booty, complete the Message in a Bottle missions while exploring each map. These treasure hunts take you into additional corners of the DLC and award Captain Blade’s equipment.
In Campaign of Carnage, combine your hunt for Moxxi pictures with fights at Pyro Pete’s Bar. Keep the collectible objective in mind while finishing the campaign and side missions.
Sir Hammerlock’s Big Game Hunt
Pick up side missions as you enter each area. “I Like My Monsters Rare” involves rare enemy variants and can take repeated searches.
Use these locations to focus your attempts:
- Two-legged Drifters: Outside the lodge.
- Slag Spores: Outside the lodge, toward the Savages encountered during the opening mission.
- Pink Boroks: Hunter’s Grotto, across the mountain.
- Tailless Scaylions: The cave in Scylla’s Grove.
- Albino Skags: Near the Old Pukey mission area.
During the Bloodtail mission, allow the encounter to get underway before unloading overwhelming damage. Killing the target too quickly can leave the mission timer running.
Visit-Based Objectives and Effervescent Gear
Watch the visit-based conditions for They Was All "Hey That's Mine" and Girl's Gotta Eat. Pull all five Immortal Skeletaur swords without leaving the area, and feed the queen three times during one visit.
For Painbow Connection, keep effervescent items until you can fill every required slot together. The class mod slot is excluded from Painbow Connection.
Follow This 100% Completion Order
- Choose your main character and advance the campaign. Accept nearby side missions and begin weapon, grenade, vehicle, and shield challenges.
- Handle Sanctuary tasks during return visits. Buy black-market upgrades, tip Moxxi, check for Michael Mamaril, unlock customization items, and redeem tokens.
- Collect regional secrets as their areas open. Visit Face McShooty, trigger the double rainbow, open the Fyrestone chest, and check for Donkey Mong.
- Finish base-game side missions on your main character. Include the relevant Circle of Slaughter rounds, then sweep named locations and remaining challenges.
- Reach level 50 and defeat Terramorphous. Prepare your gear and ammunition before entering the arena.
- Complete the alternate-class achievements. Build Salvador around extended Gunzerking and Zero around Many Must Fall; finish the Commando’s turret kills and the Siren’s Phaselocks.
- Work through the DLC campaigns one at a time. Combine each story with its side missions, collectibles, named locations, and specific combat objectives.
- Compare your remaining locked achievements with their exact conditions. Check for an unequipped gear slot, an unfinished challenge category, a visit-based objective, or a mission completed on a different character.
Continue with
 Borderlands 2 Beginner Tips: Survive Your First RunUse Borderlands 2 beginner tips to choose a Vault Hunter, find better weapons, match elements, and survive tough fights on your first trip to Pandora.
More in Guide
Borderlands 2 Difficulty Levels: Every Mode Explained
Learn how Borderlands 2 difficulty levels work, unlock TVHM and UVHM, switch playthroughs, and avoid gear mistakes that make hard fights feel impossible.
Borderlands 2 Fastest Way To Level Up: XP Farm Guide
Find the Borderlands 2 fastest way to level up with campaign milestones, a repeatable UVHM XP farm, and gear tips to keep your leveling route moving fast.

Borderlands 2 Walkthrough: Opening Missions and Tips
Follow this Borderlands 2 walkthrough from Claptrap's rescue to the Firehawk, with early boss tactics, side quests, gear unlocks, and key story milestones.
Join the community
Official channels for news, updates and player help: