
Borderlands 2 Walkthrough: Opening Missions and Tips
Follow this Borderlands 2 walkthrough from Claptrap's rescue to the Firehawk, with early boss tactics, side quests, gear unlocks, and key story milestones.
Jump to

Claptrap needs his eye back, bandits are blocking the way off the glacier, and Sanctuary is still a long trip away. This Borderlands 2 walkthrough takes you through the opening missions to the Firehawk, with directions for the fights, equipment upgrades, and optional stops along the way. A story checklist follows so you can track the campaign beyond Frostburn Canyon.
Windshear Waste: My First Gun and Blindsided
Your opening objective is to help Claptrap recover his stolen eye, then find someone who can repair him.
- Follow Claptrap into his home. Take the ECHO Communicator and collect the pistol from the marked cabinet after the attack.
- Search nearby containers for supplies. Gather ammunition before following Claptrap into the snow.
- Protect Claptrap along the route. Fight the smaller bullymongs and help him out when he gets stuck.
- Defeat the bullymong carrying his eye. Keep moving to create space between attacks, and collect red health pickups when you need them.
- Retrieve the eye. Follow Claptrap through the Hyperion passage toward Southern Shelf.
During the boss fight, avoid standing still while firing. Back away when the bullymong closes in, then resume shooting once you have room.
Optional collectible: Open the side door inside Claptrap's home and inspect the bathroom wall for a Vault Symbol.
Completing My First Gun unlocks First One's Free.
Official page: Borderlands 2 (store.steampowered.com)
Southern Shelf: Cleaning Up the Berg
Liar's Berg introduces Sir Hammerlock, vending machines, and your opening side missions. Clear the settlement before pushing toward Captain Flynt.
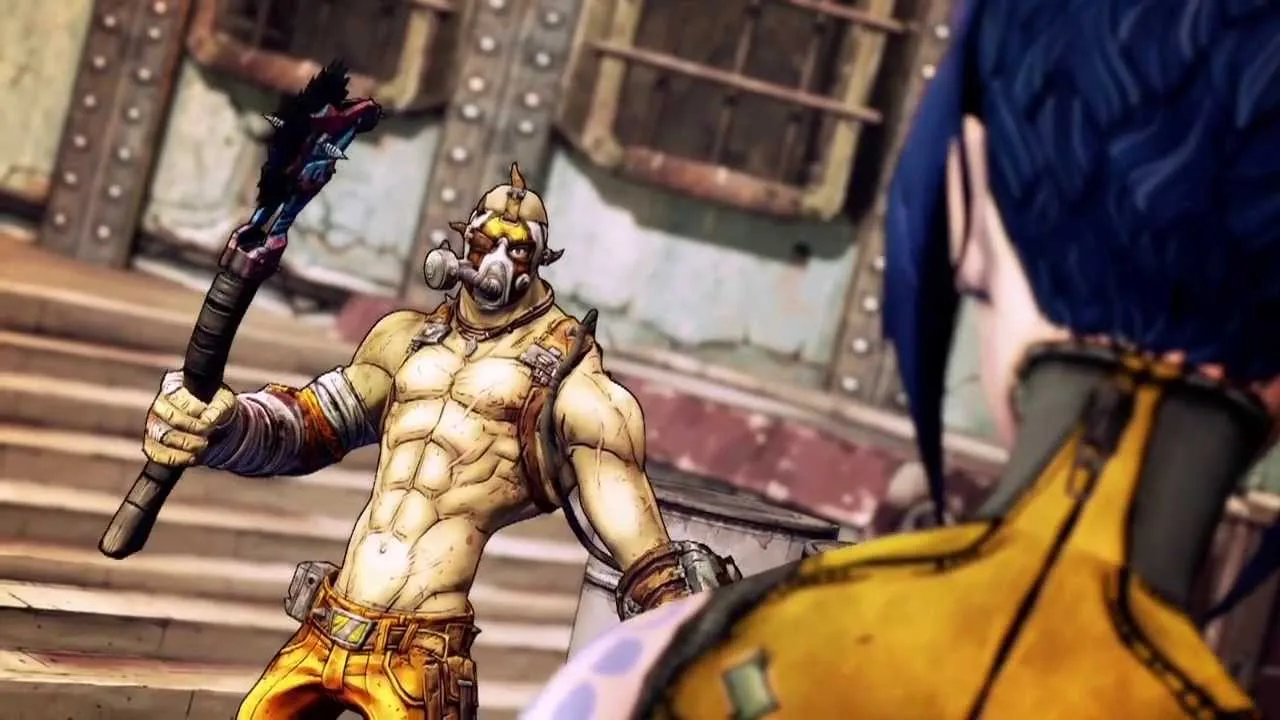
- Escort Claptrap toward Liar's Berg. Eliminate the bullymongs along the approach.
- Clear the bandits from the settlement. Finish the enemies around the buildings so Hammerlock can help.
- Give Hammerlock Claptrap's eye. Wait while he repairs the robot and restores power.
- Use the vending machines. Sell unwanted weapons to free inventory space.
- Speak with Hammerlock about additional work. Select a mission in your quest log to display its objectives.
Before continuing, consider these nearby detours:
- Clear the graveyard and frozen pond. Hammerlock's creature-clearing assignment gives you another opportunity to earn experience and equipment.
- Repair the lift and buy a shield. Retrieve the replacement fuse from the bandit camp, restore the lift, and ride up to the medical vending machine.
- Collect bullymong fur with melee finishing blows. Weaken the creatures with gunfire, then move in for the final hit.
- Search for the rider in Southern Shelf—Bay. Follow the route through the ferry crossing and bandit settlement to reach the optional encounter.
The fur objective specifically requires the finishing blow to come from melee. Stop shooting before the creature dies if you want progress toward it.
Optional collectible: During the shield errand, continue through the building above the lift, climb onto the roof, and drop onto the balcony to find a Vault Symbol.
Best Minion Ever: Reach Captain Flynt's Ship
Claptrap's escape plan leads through a cannon emplacement, a bandit stronghold, and Captain Flynt's arena.
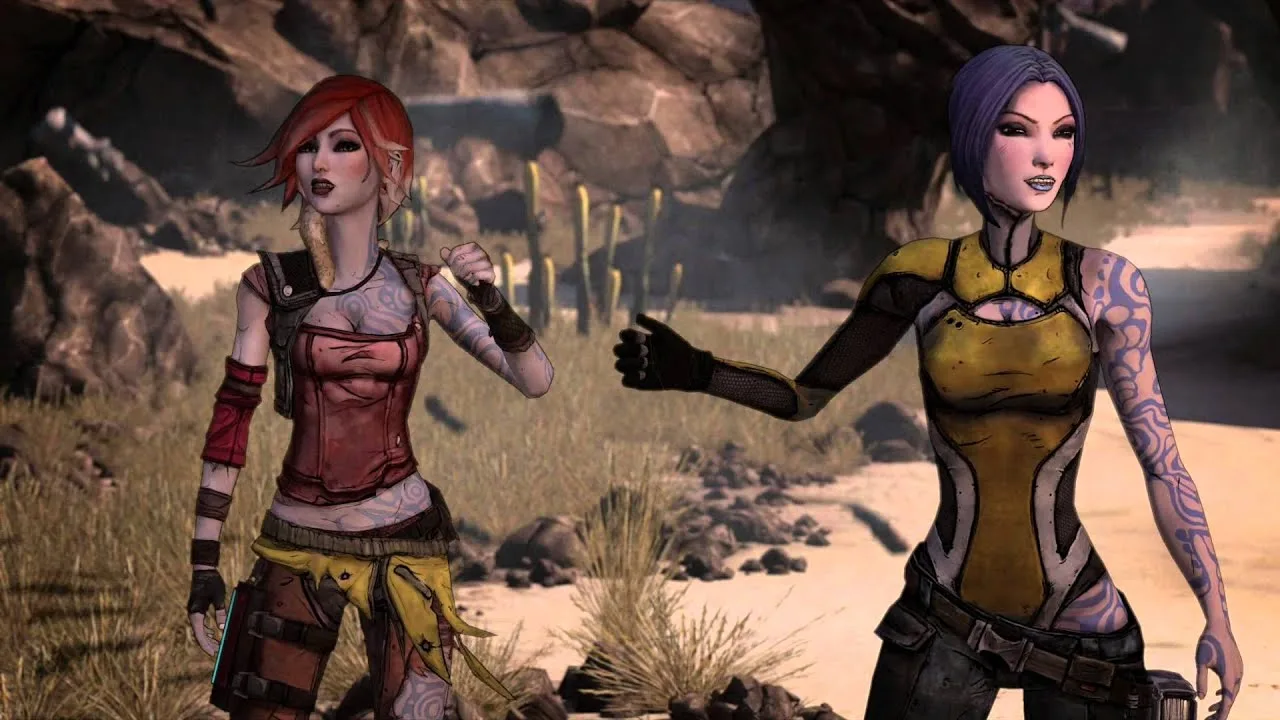
- Follow Claptrap toward the bandit camp. Cross after he lowers the bridge.
- Deal with the cannon encounter. Use cover against Big Bertha and concentrate fire on the emplacement before finishing the brothers.
- Use the captured cannon to destroy the gate. Shoot the gate, handle the incoming bandits, and continue through.
- Climb through the Soaring Dragon stronghold. Work around the cliffside route until you reach Claptrap at the lift.
- Take the stairs and activate the lift for him. Continue upward to Captain Flynt.
- Defeat Flynt and follow Claptrap to the boat. Use the marked lever to lower the vessel, then board it.
Getting Through the Cannon Fight
Stay behind cover while the cannon has a clear line of fire. The challenge attached to this encounter requires every player to avoid Big Bertha's shots, so prioritize avoiding the cannon if you are pursuing it.
Fighting Captain Flynt
Keep your distance from Flynt's flamethrower and attack from range. Retreat when he advances instead of trying to trade damage at close quarters.
His encounter also includes a challenge for avoiding his fire breath. Leave room behind you to withdraw before committing to a long burst of shooting.
Optional stops:
- Search the upper stronghold's balconies and rooftops for Southern Shelf's other Vault Symbol.
- If you have a Tediore weapon, killing a flying enemy with its thrown reload unlocks High-Flying Hurler.
Completing Best Minion Ever unlocks Dragon Slayer.
The Road To Sanctuary: Unlock a Vehicle and Reach the City
After the boat journey, Three Horns—Divide opens up the route to Sanctuary. You need a working vehicle, then a power core for the city's defenses.

- Approach the Catch-A-Ride station. Follow the objective to retrieve a Hyperion adapter when the station cannot produce a vehicle.
- Enter the bandit outpost through the giant fish skeleton. Clear the enemies and collect the adapter.
- Return to Catch-A-Ride and create a vehicle. Build up speed and jump the broken bridge.
- Drive toward Sanctuary's gate. Follow Roland's request to locate Corporal Reiss.
- Find Reiss beyond the narrow passage. Leave the vehicle behind where the route requires it and clear the nearby bandits.
- Retrieve the power core from the marked camp. Complete the optional bandit kills if you want the additional mission reward.
- Return to Sanctuary. Speak with Lieutenant Davis, install the power core, and report back.
The vehicle has separate driver and gunner positions. In co-op, use those seats to keep moving while a teammate handles the mounted weapon.
Optional collectible: Inspect the back of the large billboard near the southwestern exit of Three Horns—Divide. Reach it by climbing along the supporting beam.
Completing The Road To Sanctuary unlocks A Road Less Traveled.
Sanctuary: Plan B and Your Third Weapon Slot
Plan B takes you through Sanctuary's services while advancing the search for Roland. Its equipment reward is an additional equipped weapon slot.
- Speak with the guard and visit Scooter's garage. Collect the Eridium and the batteries from the upper level.
- Install the batteries at the marked locations. Follow Scooter's instructions around town.
- Visit the black market. Spend Eridium on an inventory or ammunition capacity upgrade.
- Install the remaining battery. Return to the objective after making your purchase.
- Go to Roland's headquarters. Collect the key from the guard, enter the building, and listen to the recording.
Completing Plan B unlocks your third equipped weapon slot and the New In Town achievement.
Choose an ammunition upgrade for a weapon type you use regularly, or expand inventory capacity if you keep running out of room for loot.
Before leaving town, pick up these optional errands:
- Claptrap's stash task: Look behind the fallen panel close to Claptrap rather than attempting his elaborate demands.
- Dr. Zed's surgical errand: Help with his patient, then deliver the Eridium shard to Tannis.
- The assassin assignment: Bring a pistol, sniper rifle, and shotgun, and remember that one optional finishing condition requires melee.
Optional collectible: Check beneath the stairs in Scooter's garage, behind the tires, for a Vault Symbol.
Frostburn Canyon: Hunting The Firehawk
Frostburn Canyon's winding paths make the objective markers less straightforward than they look. Follow the route between signs rather than trying to reach every marker in a straight line.
- Open Roland's safe upstairs in headquarters. Take the recording that points you toward the Firehawk.
- Travel to Frostburn Canyon. Fight through the bandits and spiderants along the route.
- Follow the seven Bloodshot signs. Use the caves and connecting paths to reach each one.
- Approach the elevated fourth sign through the southern caves. Circle around instead of searching for a direct climb beneath the marker.
- Enter the Firehawk's hideout. Help Lilith up, then retrieve the Eridium she requests.
- Defend the hideout with her. Survive the incoming bandit waves to finish the mission.
The mission rewards a class mod, and completing Hunting The Firehawk unlocks An Old Flame.
Optional collectibles:
- Near the second Bloodshot sign, enter the side cave to find a Vault Symbol.
- After the sixth sign, drop into the icy dead end for another Vault Symbol.
Follow Lilith's Cult Missions
Afterward, speak with Lilith in Sanctuary for the cult quest chain. Keep a fire weapon available for its required objectives.
The chain has you burn bandits for ashes, defeat the fire spider worshipped by a rival group, carry a captive to the Southern Shelf ship, and ignite three effigies. During the final ritual, activate the lever and finish the fight against the cult leader and his followers.
Completing the chain rewards the Flame of the Firehawk shield.
Continue Through the Main Story
Beyond Frostburn Canyon, use these mission completions as checkpoints for your campaign progress. Each listed achievement is tied to finishing its corresponding mission or final objective.
| Mission or objective | Achievement |
|---|---|
| Complete A Dam Fine Rescue | No Man Left Behind |
| Complete A Train To Catch | Wilhelm Screamed |
| Complete Rising Action | Sky's The Limit |
| Complete Bright Lights, Flying City | Can See My House From Here |
| Complete Wildlife Preservation | Farewell, Old Girl |
| Complete The Once and Future Slab | Got The Band Back Together |
| Complete The Man Who Would Be Jack | Identity Theft |
| Complete Where Angels Fear To Tread | An Angel's Wish |
| Complete Toil And Trouble | Bombs Away |
| Complete Data Mining | Knowing Is Half The Battle |
| Defeat Jack | Cool Story, Bro |
For additional completion goals, Bounty Hunter requires 20 side missions, while Did It All requires every side mission. Track exploration separately: World Traveler requires discovering all named locations, so finishing the story alone does not complete that objective.
Continue with
 Borderlands 2 Achievement Guide: Your Route to 100%Use this Borderlands 2 achievement guide to plan all 75 Steam unlocks, tackle class challenges, beat raid bosses, and clear every DLC achievement in order.
More in Guide
Borderlands 2 Beginner Tips: Survive Your First Run
Use Borderlands 2 beginner tips to choose a Vault Hunter, find better weapons, match elements, and survive tough fights on your first trip to Pandora.
Borderlands 2 Difficulty Levels: Every Mode Explained
Learn how Borderlands 2 difficulty levels work, unlock TVHM and UVHM, switch playthroughs, and avoid gear mistakes that make hard fights feel impossible.
Borderlands 2 Fastest Way To Level Up: XP Farm Guide
Find the Borderlands 2 fastest way to level up with campaign milestones, a repeatable UVHM XP farm, and gear tips to keep your leveling route moving fast.
Continue exploring
Join the community
Official channels for news, updates and player help: