Borderlands 2 Beginner Tips: Survive Your First Run
Use Borderlands 2 beginner tips to choose a Vault Hunter, find better weapons, match elements, and survive tough fights on your first trip to Pandora.
Your favorite gun can become the reason you keep dying on Pandora. These Borderlands 2 beginner tips will help you choose a manageable character, recognize useful upgrades, and handle fights without wasting hours chasing loot you’ll soon replace. Start by keeping your mission level, equipment, and damage types working together.
Early Game: Choose Your Hunter and Keep Up With Missions
1. Pick a character whose action skill helps you learn
Maya is an accessible starting choice because Phaselock suspends susceptible enemies, giving you a stationary target while you practice aiming. Axton’s deployable turret adds firepower during a fight.
Here’s what each Vault Hunter brings to combat:
| Vault Hunter | Class | Action skill |
|---|---|---|
| Axton | Commando | Deploys a turret that can gain additional weapons and defensive upgrades |
| Maya | Siren | Uses Phaselock to suspend susceptible enemies |
| Salvador | Gunzerker | Uses Gunzerking to wield two guns simultaneously |
| Zer0 | Assassin | Creates a holographic decoy and cloaks himself to prepare a powerful attack |
| Gaige | Mechromancer, DLC character | Summons Deathtrap to attack enemies |
| Krieg | Psycho, DLC character | Enters a Buzz Axe Rampage for close combat and thrown axe attacks |
Choose Maya if controlling a dangerous enemy sounds useful. Her skill trees also support healing and offensive builds, so you have room to experiment.
Salvador has enormous potential once his equipment and skills work together, but that doesn’t make his opening levels automatically easier. Pick him because you enjoy dual-wielding and want to build around Gunzerking.
2. Unlock your action skill, then develop a focused skill tree
Your action skill unlocks at level 5. After that, additional levels provide skill points for passive bonuses and action skill improvements.
Read beyond the first row before spending points. Stronger skills sit farther down each tree, so work toward an ability that supports how you want to fight instead of scattering points without a goal.
For Maya, Cloud Kill becomes available as early as level 16 with the required investment in Cataclysm. It creates a corrosive cloud when you shoot an enemy and is particularly useful against Loaders.
Use your action skill regularly enough to learn its role. Phaselock creates an aiming opportunity; Zer0’s decoy gives you space to prepare an attack; Axton’s turret contributes another source of damage.
3. Take side missions when the story starts outpacing you
Compare your level with the next mission’s level. If the gap is growing and ordinary enemies are becoming difficult, complete some side quests before pushing forward.
Side missions provide experience and equipment, including unique rewards. Early on, Bad Hair Day offers a useful example: turning the fur in to Sir Hammerlock rewards a Jakobs sniper rifle.
You don’t need to complete every side mission before advancing. Take enough to keep pace, and prioritize quests with rewards that fill a weakness in your loadout.
For your first run, these play options are useful to know:
- Play the campaign solo in single-player.
- Bring friends for co-op with up to four players.
- Use a controller with full controller support.
Official page: Borderlands 2 (store.steampowered.com)
Combat: Match Damage Types and Plan Your Recovery
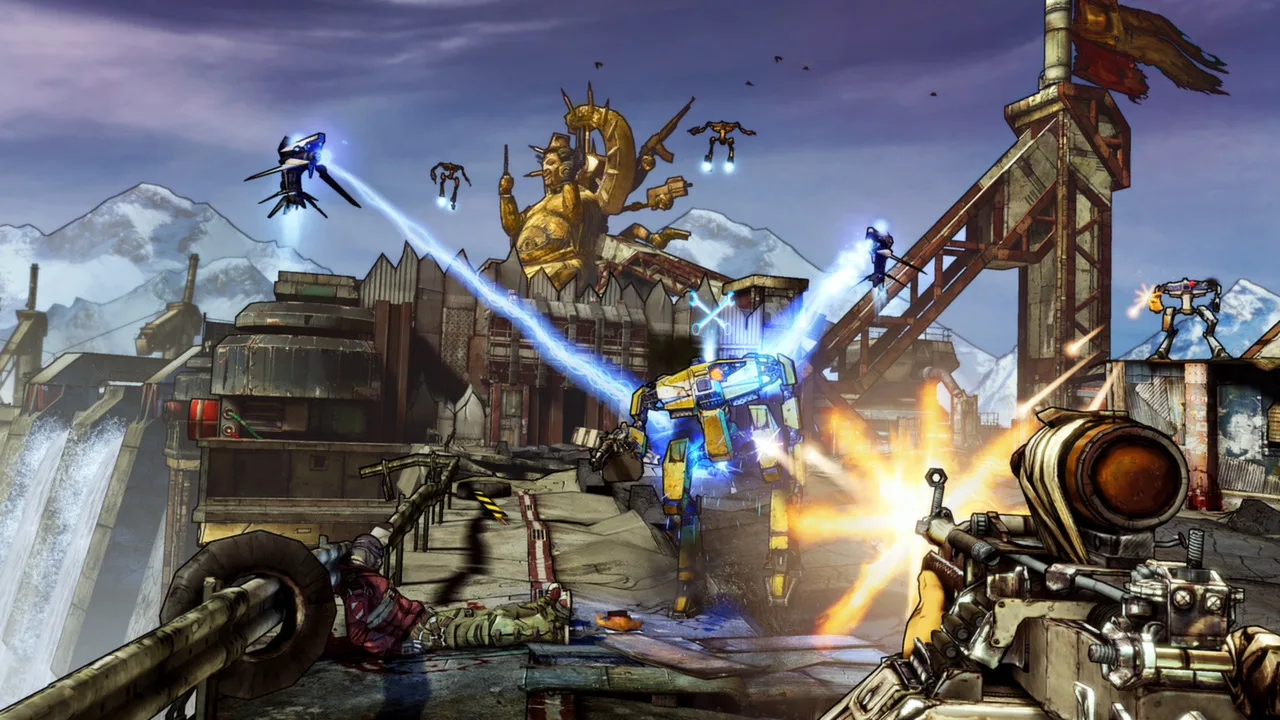 Image: Steam / Gearbox Software
4. Match elements to the health bar you’re attacking
An elemental weapon earns its inventory space when it solves a specific problem. Carry different damage types as you find them, then switch to match the enemy’s current defenses.
| Enemy defense | Bar color | Element to use |
|---|---|---|
| Flesh | Red | Fire |
| Shields | Blue | Shock |
| Armor | Yellow | Corrosive |
For a shielded enemy with flesh underneath, strip the blue bar with shock, then switch to fire for the red bar. Against armored Loaders, reach for corrosive damage.
Keep a useful elemental backup in your backpack even when it isn’t part of your usual rotation. A gun that feels ordinary against one enemy can become valuable against the right defense.
5. Apply slag, then switch to another damage type
Slag works differently from fire, shock, and corrosive damage. It makes affected enemies vulnerable to increased damage from other damage types.
The basic sequence is:
- Apply slag until the enemy turns purple.
- Switch to a non-slag weapon.
- Attack while the slag effect remains active.
Non-slag damage against a slagged target is doubled in Normal Mode and True Vault Hunter Mode. In Ultimate Vault Hunter Mode, that multiplier rises to three times, and slag lasts longer.
Practice the swap when you find a convenient slag gun or grenade. You can get through the early difficulties without building every fight around slag, but learning the sequence prepares you for tougher playthroughs.
6. Use critical hits to make your ammunition count
Aim at enemy weak points instead of relying entirely on body shots. Critical hits help you kill faster while spending fewer rounds.
Keep a sniper rifle available if you can land those shots consistently. Snipers have strong critical-hit potential during the early difficulties, and Maya’s Phaselock makes lining up a shot easier against enemies it can suspend.
Watch the minimap between bursts of fire, too. Enemies can blend into the scenery or move behind cover; their positions help you decide whether to keep aiming down sights or reposition.
7. Pick a reachable target during Fight for Your Life
When you enter Fight for Your Life, defeating an enemy gives you a Second Wind and gets you back into combat.
Focus on an enemy you can actually finish. A nearby wounded target is a more practical recovery opportunity than a distant enemy with plenty of health.
Switch weapons if your current gun is empty or poorly suited to the target. Keeping a loaded, hard-hitting alternative ready gives you another option when you’re down.
Weapons and Gear: Judge What Actually Works

8. Replace aging weapons before chasing rarity
Compare new drops with your equipped guns even when their colors look less exciting. A lower-rarity weapon near your level can outperform an older legendary.
Use this basic rarity order when sorting loot:
- White: common
- Green: uncommon
- Blue: unique
- Purple: rare
- Orange: legendary
Color is only part of the decision. Compare damage, fire rate, reload speed, accuracy, elemental effects, and any unusual behavior.
If a weapon is five or more levels below your character, start actively testing replacements. Some special weapons remain useful longer, but don’t keep one equipped solely because it was excellent earlier.
Read red-text items carefully and try them in combat. Their special effects can make the item card an incomplete picture of their value.
9. Carry different weapon types and learn manufacturer behavior
Equipping several pistols leaves all of them competing for pistol ammunition. Spread your active loadout across different weapon types so one empty ammo pool doesn’t shut down your entire setup.
Manufacturer traits also change how a weapon handles:
- Dahl: Uses burst fire while aiming down sights.
- Hyperion: Becomes more accurate during sustained fire.
- Jakobs: Emphasizes strong individual hits.
- Maliwan: Produces elemental weapons.
- Tediore: Throws the weapon during reloading, turning the discarded gun into an attack.
- Torgue: Fires explosive projectiles.
- Vladof: Emphasizes high fire rates.
- Bandit: Offers large magazines, often paired with lengthy reloads.
With Tediore weapons, ammunition remaining in the magazine increases the thrown weapon’s damage. Reload deliberately instead of repeatedly discarding nearly full magazines without considering your ammo supply.
Test assault rifles alongside your other options. Many have a critical-hit disadvantage, but useful exceptions exist; judge the individual weapon before discarding an entire category.
10. Check shields, grenades, and class mods alongside your guns
A stronger gun won’t fix every equipment problem. Review the rest of your loadout when fights become harder.
For shields, compare capacity, recharge delay, and recharge rate. Capacity determines how much damage the shield absorbs, while the recharge attributes affect its recovery. Special effects add another consideration, such as an explosion when the shield breaks or ammunition absorption.
Grenade mods change both damage and delivery. Read whether a grenade is lobbed, teleports, applies an element, or releases child grenades before throwing it into a crowded fight.
Class mods provide stat bonuses and can boost named skills. You must invest at least one point in a skill to activate its class-mod bonus. Those bonuses can raise a skill beyond its normal point limit.
Choose relics that support your current setup, whether that means damage, health, or action skill cooldown.
Resources: Turn Spare Loot Into Useful Equipment
11. Sell valuable extras and inspect vending machines
Pick up valuable equipment you don’t plan to use, then sell it at vending machines. Keep room for worthwhile drops by clearing out gear that no longer serves your loadout.
Check vending machines when a specific equipment slot is falling behind. Their stock can provide gear closer to your character’s level, and the Item of the Day deserves a look.
Compare the purchase with what you already own before spending. Use shops to fill an actual gap, such as an outdated shield or a missing weapon type.
12. Use Golden Keys when your equipment needs help
Golden Keys open the Golden Chest in Sanctuary. Most of its rewards tend to match your character’s level and can include purple or E-tech equipment.
If you have keys from SHiFT codes, use the chest when several parts of your loadout need replacing. The level-matched rewards make it useful during leveling, rather than something you must save exclusively for the endgame.
Check that a code awards keys for Borderlands 2 before redeeming it. Avoid planning your progression around a fixed supply of keys; use ordinary drops, mission rewards, and shops to keep moving.
Mistakes to Avoid During Your First Playthrough
13. Don’t spend hours perfecting gear you’ll soon outlevel
Leave lengthy legendary farming sessions for later. Repeated boss runs can consume substantial time, and the reward still has an item level that your character will eventually outgrow.
Collect useful drops while progressing, take mission rewards, and replace equipment as needed. A short hunt for a weapon you enjoy is different from chasing an ideal prefix or perfect version during your opening levels.
14. Don’t let endgame builds or Badass Rank distract you
Your first campaign starts in Normal Mode. Completing it unlocks True Vault Hunter Mode, which restarts the story while retaining your character progression and loot.
Build for the enemies and equipment in front of you. An endgame setup can depend on skills and weapon combinations that aren’t available to your current character.
Spend Badass Tokens as you earn them, but keep their bonuses in perspective. Early gains are small compared with the practical difference made by an appropriate weapon, a useful skill, or matching the enemy’s defenses. If a fight repeatedly stops your progress, inspect those three things before grinding challenges for another incremental bonus.
Continue with
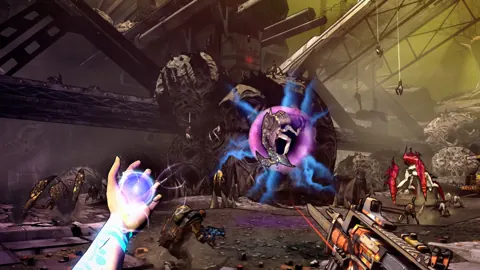 Borderlands 2 Difficulty Levels: Every Mode ExplainedLearn how Borderlands 2 difficulty levels work, unlock TVHM and UVHM, switch playthroughs, and avoid gear mistakes that make hard fights feel impossible.
More in Guide
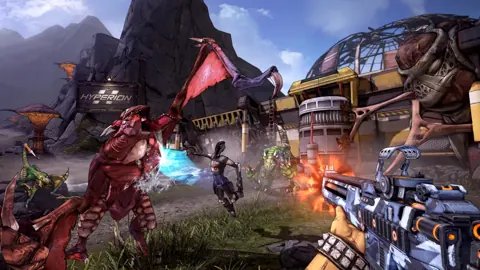
Borderlands 2 Achievement Guide: Your Route to 100%
Use this Borderlands 2 achievement guide to plan all 75 Steam unlocks, tackle class challenges, beat raid bosses, and clear every DLC achievement in order.
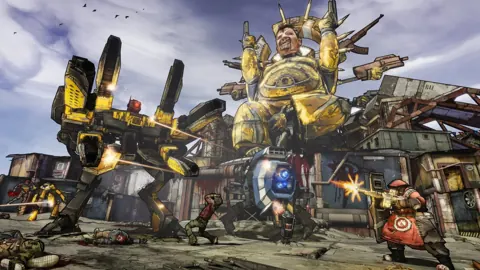
Borderlands 2 Fastest Way To Level Up: XP Farm Guide
Find the Borderlands 2 fastest way to level up with campaign milestones, a repeatable UVHM XP farm, and gear tips to keep your leveling route moving fast.

Borderlands 2 Walkthrough: Opening Missions and Tips
Follow this Borderlands 2 walkthrough from Claptrap's rescue to the Firehawk, with early boss tactics, side quests, gear unlocks, and key story milestones.
Continue exploring
Join the community
Official channels for news, updates and player help: