Borderlands 2 Classes Guide: Pick Your Vault Hunter
Use this Borderlands 2 classes guide to compare all six Vault Hunters, find a beginner-friendly pick, and plan skills and gear for solo or co-op campaigns.
Jump to
Which Class Should You Choose?
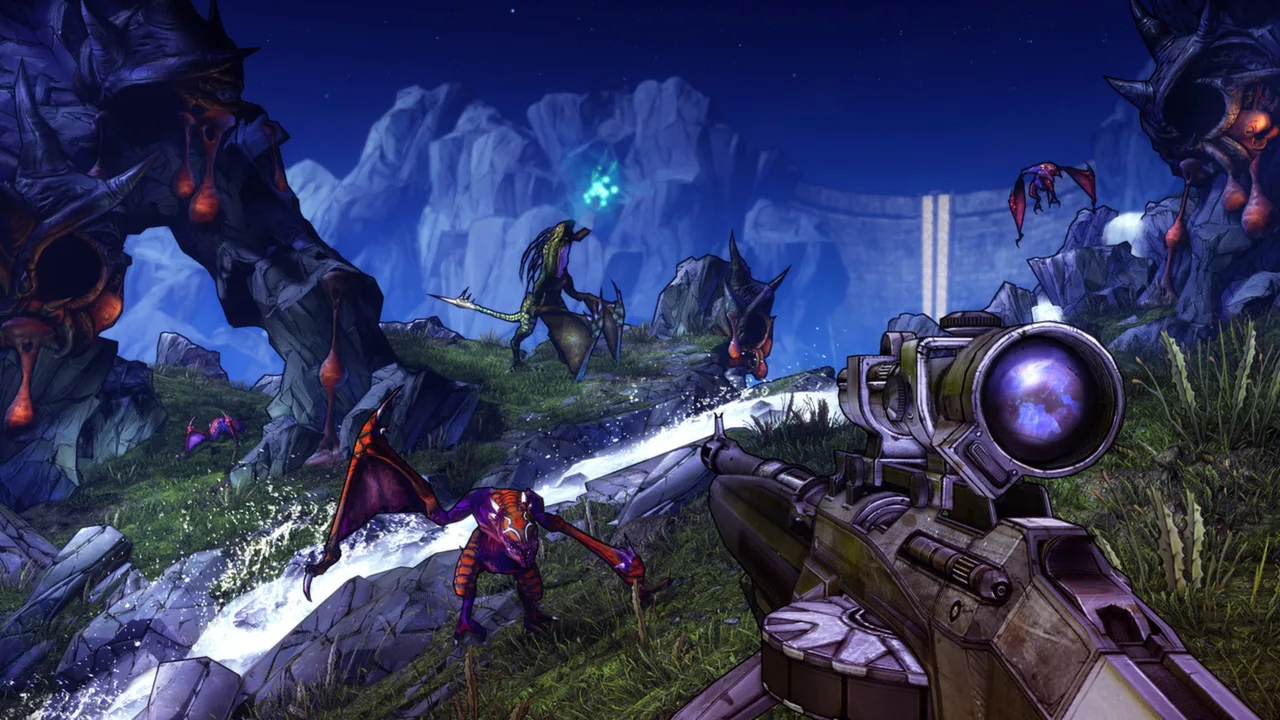
Pick Maya for an approachable first playthrough, or Salvador if you want to work toward exceptional endgame damage. This Borderlands 2 classes guide breaks down all six Vault Hunters so you can choose a combat style you’ll enjoy. Your action skill changes how you handle pressure, create openings, and put your weapons to work.
The base game includes Axton, Maya, Salvador, and Zer0. Gaige and Krieg are additional DLC characters, so check which character packs your edition includes before choosing.
| Vault Hunter | Class | Core ability | Availability |
|---|---|---|---|
| Axton | Commando | Deploys a turret for additional firepower | Base game |
| Maya | Siren | Suspends susceptible enemies with Phaselock | Base game |
| Salvador | Gunzerker | Fires two weapons simultaneously | Base game |
| Zer0 | Assassin | Creates a decoy and cloaks before a powerful attack | Base game |
| Gaige | Mechromancer | Summons Deathtrap, a robot companion | DLC |
| Krieg | Psycho | Enters a rampage using a Buzz Axe | DLC |
Every character has three skill trees, and your action skill unlocks at level 5. Judge your choice by how that ability fits your preferred fights: controlling a dangerous enemy, deploying backup, firing two guns, or closing in for melee attacks.
Official page: Borderlands 2 (store.steampowered.com)
Axton: Deploy a Turret and Control Your Position
Axton’s defining tool is his deployable Dahl turret. It adds firepower while you keep shooting, and upgrades can give it additional guns, missile pods, and a protective bubble shield.
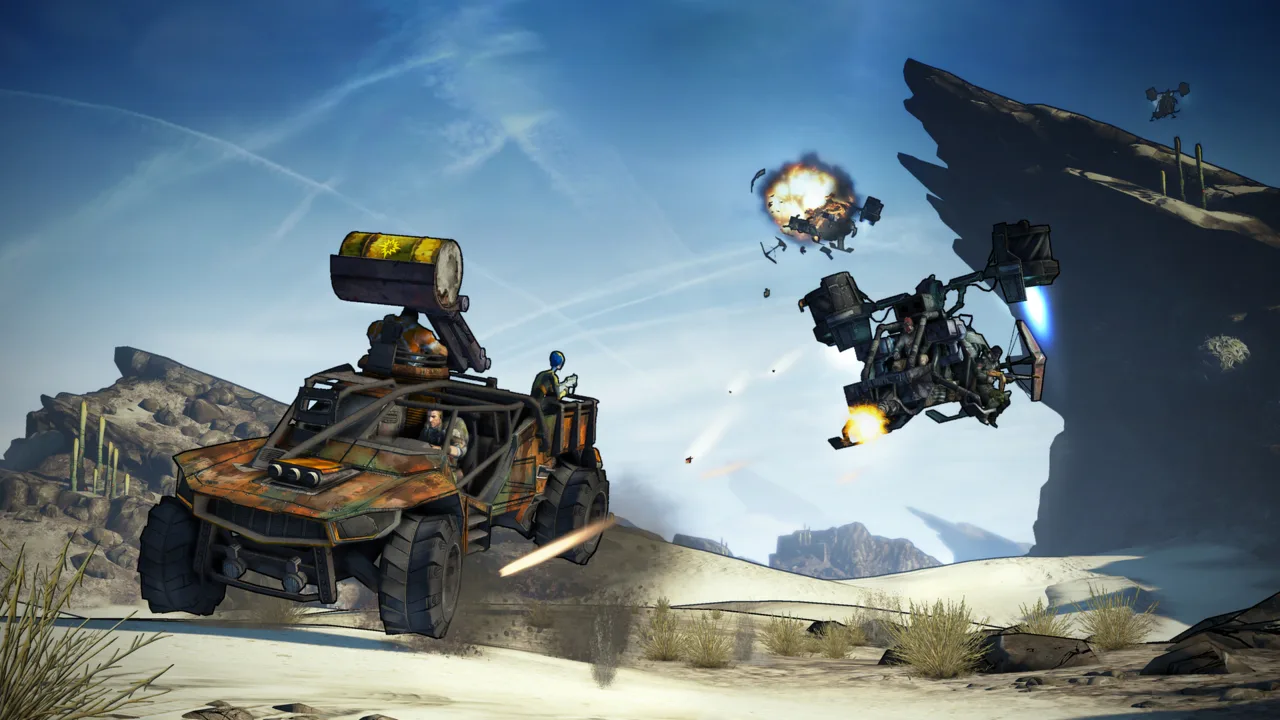 Image: Steam / Gearbox Software
Choose Axton if deploying a combat tool appeals to you more than managing a transformation or timing a stealth attack. His turret gives you another part of the battlefield to plan around.
Build around the turret’s available upgrades:
- Add guns or missile pods when you want more supporting fire.
- Choose the bubble shield upgrade when you want protection around the deployment.
- Position yourself where you can keep firing while the turret contributes.
Keep your own weapons current. The turret supplements your damage, so continue replacing guns that struggle against enemies near your level. Carry different weapon types to avoid exhausting a single ammunition pool during longer encounters.
Maya: Use Phaselock for Easier Shots and Team Support
Maya’s Phaselock lifts susceptible enemies into the air and holds them briefly. That creates a clear opportunity to aim at critical spots while removing an immediate threat from the fight.
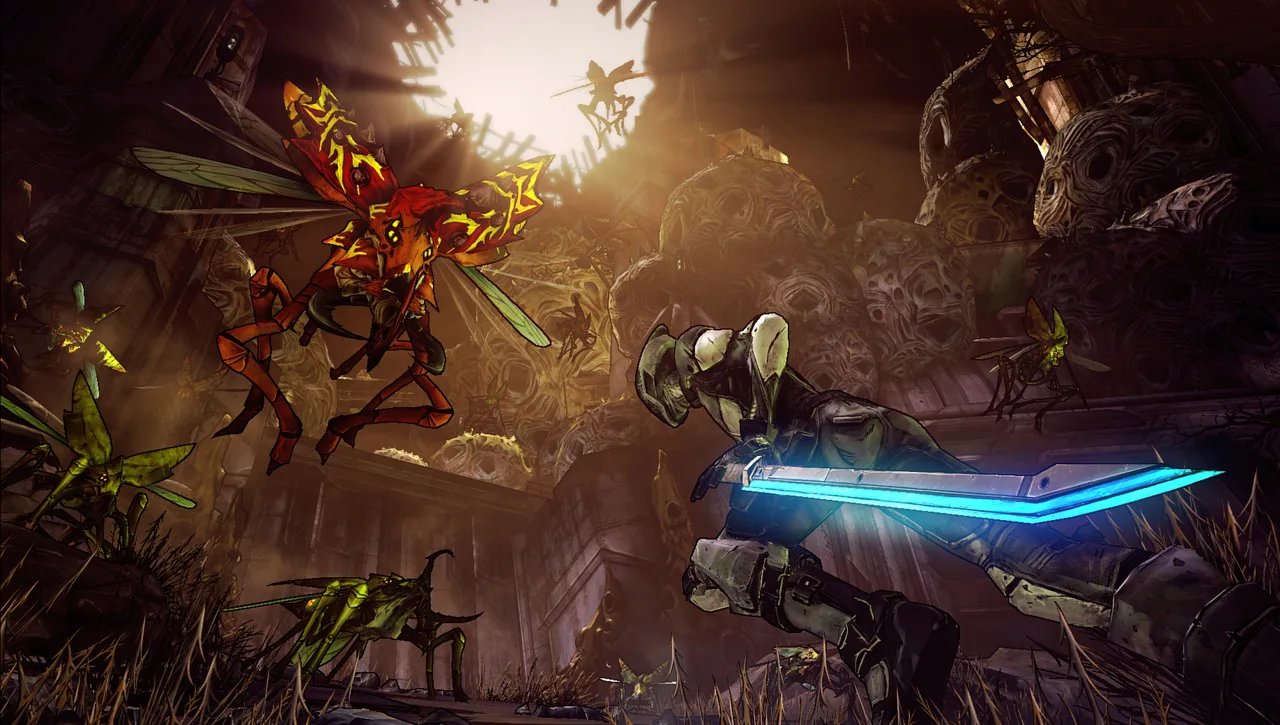 Image: Steam / Gearbox Software
She is a strong beginner choice because the benefit is easy to use: stop a troublesome enemy, line up your shots, and finish it before it resumes attacking. A sniper rifle can take advantage of that stationary target; Maya’s control is useful beyond an SMG-focused setup.
Her three trees support different directions:
- Motion: Develops her control and general combat capabilities.
- Harmony: Provides healing options for a support-focused co-op character.
- Cataclysm: Emphasizes offensive and elemental effects.
Cloud Kill is a particularly useful early offensive target. It becomes available as early as level 16 and causes a gun hit to create a corrosive cloud. It is especially effective against loaders and can also deal substantial damage to other enemies in Normal mode.
For an easier opening campaign, prioritize the path to Cloud Kill. For a group character, invest in Harmony’s healing options while continuing to use Phaselock to create shooting opportunities.
Salvador: Build Around Gunzerking and Weapon Synergy
Salvador’s Gunzerking lets him wield two weapons at once. Activating it restores health, and the ability also provides health regeneration, ammunition regeneration, and damage reduction.
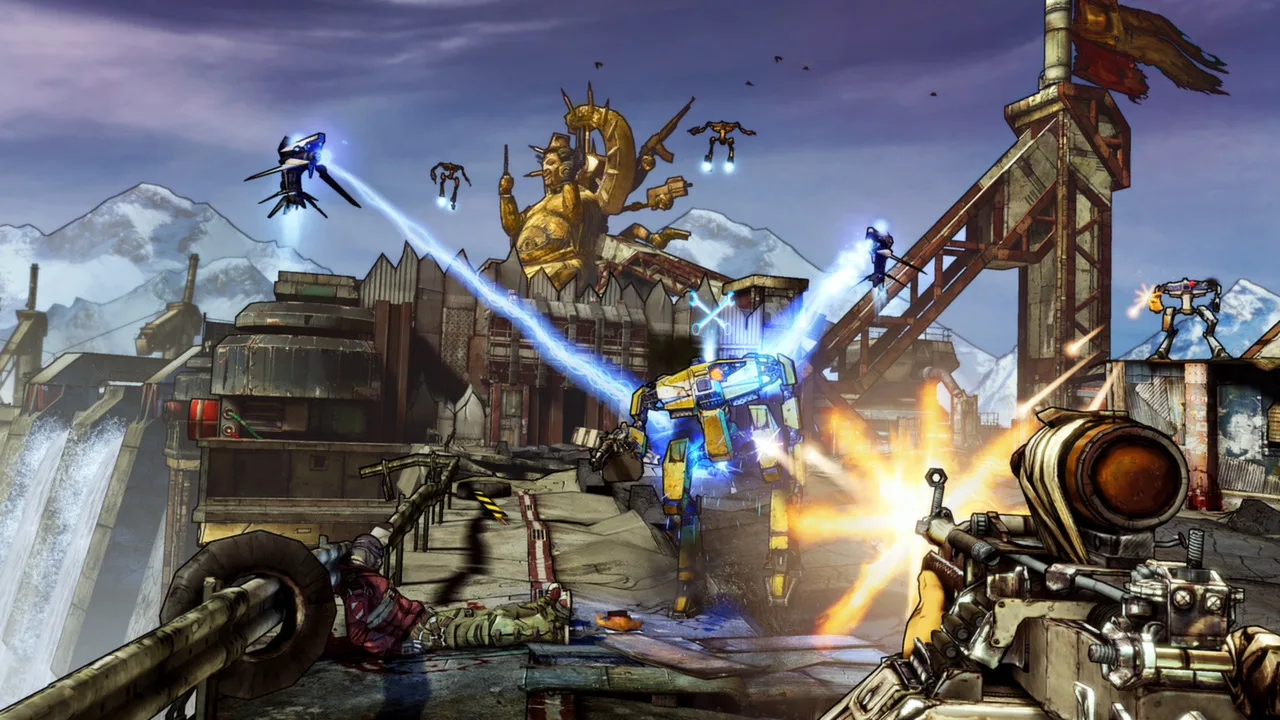 Image: Steam / Gearbox Software
His strongest setups combine that sustained fire with skills that improve ammunition efficiency and damage:
- Inconceivable: Gives shots a chance to consume no ammunition.
- Money Shot: Adds bonus damage to the final shot in a magazine.
- No Kill Like Overkill: Carries excess damage from a kill into a subsequent attack.
- Double Your Fun: Throws two grenades for the cost of one.
Salvador has exceptional potential for solo raid bosses once his equipment and skills work together. His opening levels can be less comfortable than Maya’s, so don’t expect an early character to perform like a finished endgame build.
Choose your weapon pair deliberately. Compare damage, ammunition demands, and any unique weapon effects instead of equipping two guns solely because both have high damage numbers.
Keep spare weapon types in your inventory, too. Gunzerking’s ammunition regeneration helps sustain combat, but your equipment still needs to suit the enemies you’re fighting.
Zer0: Time Your Cloak for a Decisive Attack
Zer0 creates a holographic decoy and becomes cloaked. His next attack can receive a large damage boost, and attacking ends the cloak.
That makes timing central to his playstyle. Use the cloaked interval to line up a critical shot or approach for a melee strike, then commit when you have a clear opening.
For a sniper-focused direction:
- Aim at critical weak points to capitalize on sniper rifles’ damage potential.
- Use the decoy and cloak to prepare a deliberate attack.
- Replace underleveled rifles before tougher enemies make each missed shot more costly.
For a melee direction, use the same window to close the distance before striking. Remember that the opening attack breaks your concealment; plan where you’ll be standing afterward.
Zer0 rewards precise aim and careful attack timing. If you prefer holding an enemy still while you shoot, Maya offers a more direct control tool.
Gaige: Fight Alongside Deathtrap
Gaige summons Deathtrap, a robot companion that can attack enemies with melee strikes and a laser eye. Her action skill adds an independent attacker to the encounter while you continue fighting with your own weapons.
Choose Gaige if commanding a combat companion is the main attraction. Summon Deathtrap to add pressure, then keep shooting rather than waiting for the robot to finish every enemy.
Build your equipment around the targets you need to handle:
- Carry shock damage for shields.
- Keep corrosive damage available for armored enemies.
- Use fire against flesh.
- Equip multiple gun types so one empty ammunition reserve doesn’t leave you scrambling through your inventory.
Deathtrap is the centerpiece of her class identity, but your guns, shield, grenade mod, and relic still contribute to the character’s effectiveness. Evaluate those items alongside the companion instead of treating the summon as your entire loadout.
Krieg: Commit to Buzz Axe Combat
Krieg’s rampage centers on smashing enemies with a Buzz Axe or throwing it at them. His mechanics can reward taking damage, making his combat rhythm more aggressive than holding enemies at a distance.
Choose him if you want melee attacks to be a major part of your character. Use axe throws when you need to attack beyond melee range, and watch your health as you push forward.
Don’t interpret damage-based bonuses as permission to absorb every attack. Keep track of nearby enemies and your remaining health so aggression doesn’t turn into repeated Fight for Your Life situations.
Maintain usable guns alongside your melee tools. Carry weapons with different ammunition types and elemental damage so you have options when a target is awkward to reach.
Krieg asks you to stay engaged with both offense and incoming damage. Pick him for that rhythm rather than expecting Maya’s crowd control or Axton’s deployable support.
Develop Your Skills, Gear, and Co-op Role
After unlocking your action skill at level 5, use subsequent skill points to develop your chosen trees. Stronger skills sit farther down each tree, so focus spending toward an ability you want to reach rather than scattering points without a target.
Class mods can provide passive bonuses and extra ranks in specific skills. You must invest at least one point in a skill to receive its class-mod skill bonus. Those bonuses can also raise a skill beyond its normal point limit.
Match the rest of your loadout to what your character needs:
- Weapons: Compare actual performance and level, not just rarity. A current weapon can outperform an old legendary.
- Grenade mods: Use their damage types and delivery behavior to complement your guns.
- Shields: Compare capacity, recharge characteristics, and special effects.
- Relics: Choose bonuses such as damage, health, or action skill cooldown that support your build.
Campaign play supports both solo characters and groups:
| Campaign option | Supported players |
|---|---|
| Single-player | Solo play |
| Co-op | Up to four players |
For co-op, use Maya’s healing options if you want to support teammates. Coordinate elemental coverage so the party can handle shields, armor, and flesh without everyone relying on the same damage type.
As difficulty rises, practice applying slag before switching to non-slag damage. Slag doubles that damage in Normal mode and True Vault Hunter Mode; in Ultimate Vault Hunter Mode, the multiplier rises to triple and the effect lasts longer.
Complete side missions when you fall behind mission levels, and replace weapons that no longer keep up. Save lengthy legendary farming sessions for higher levels, when the equipment will remain useful longer.
Continue with
 Borderlands 2 Axton Build: Leveling, Gear, and SkillsBuild a strong Commando with this Borderlands 2 Axton build guide, covering leveling skills, turret setups, useful gear, and preparation for UVHM and OP10.
More in Classes
See all Classes
Continue exploring
Join the community
Official channels for news, updates and player help: